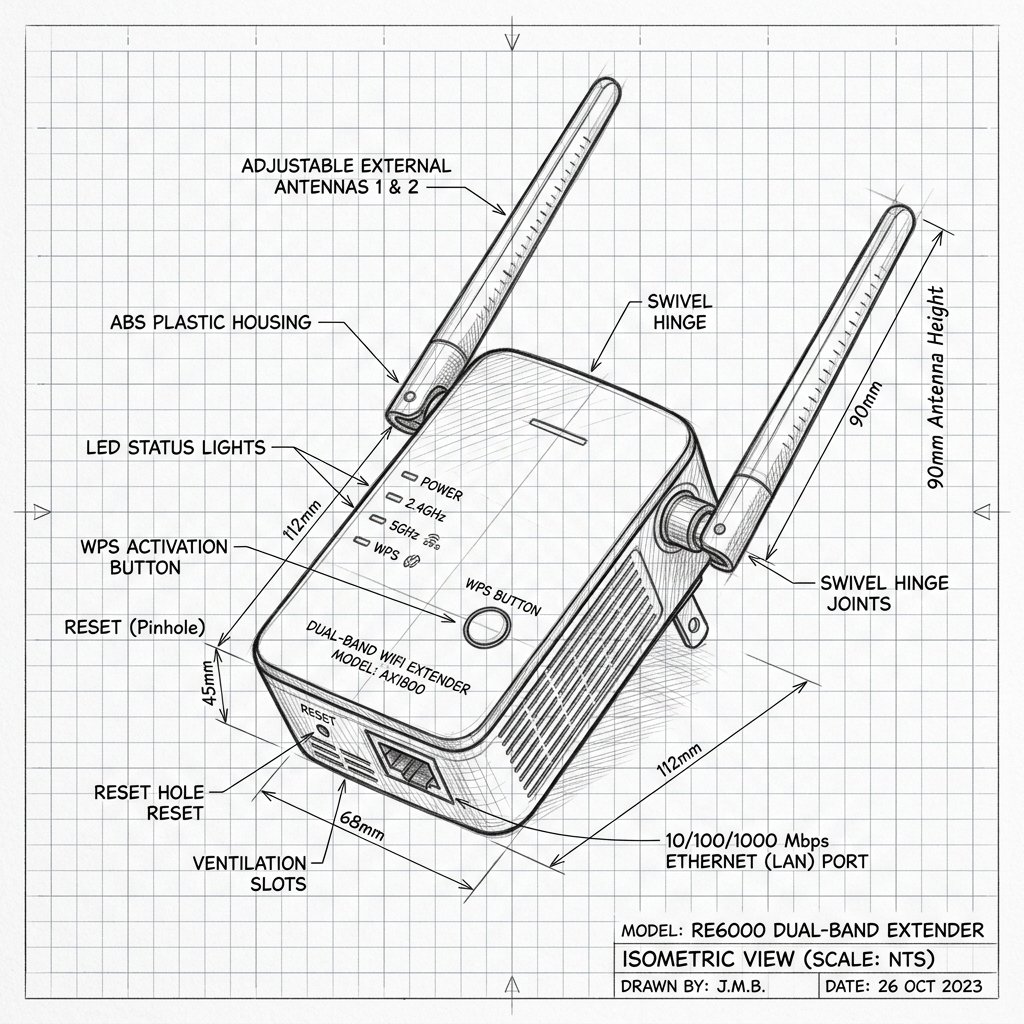
 Dual-Antenna Range Extender
Hardware Safety & Status
Verizon Fios Fios Network Extender (WCB6200Q) Firmware Guide
Monitor your device's Power and System LEDs during the upgrade process. Keep the device plugged in and connected via Ethernet or stable WiFi until the reboot cycle finishes.
Solid Power LED
Stable Network
Do Not Unplug
How to Update Firmware on Verizon Fios Network Extender (WCB6200Q)
The WCB6200Q usually gets firmware from your provider (Verizon or your ISP) automatically once it’s online and properly connected. You can, however, nudge it to update and, in advanced cases, upload firmware manually if you have the correct file.
Step 1: Make Sure the Extender Is Properly Connected
- Confirm the WCB6200Q is connected to your router via coax (MoCA) or Ethernet and that your router has an active internet connection.
- Check the LEDs on the extender:
- Power: Solid green.
- MoCA/Ethernet: Solid or blinking to show an active backhaul link.
- 2.4 GHz / 5 GHz: Solid green when WiFi is broadcasting.
- If the extender isn’t showing a stable link, fix the connection first (coax path, splitters, or Ethernet cable) before worrying about firmware.
Step 2: Let Automatic Firmware Updates Run
- Most WCB6200Q units on Fios get firmware via the router and provider—no action needed beyond leaving the extender powered and connected.
- To encourage an update, power‑cycle both devices:
- Unplug the router for 10–15 seconds, plug it back in, and wait until it is fully online.
- Unplug the extender for 10–15 seconds, plug it back in, and wait a few minutes for the LEDs to settle.
- If a newer firmware is published and your extender is still supported, it will usually download and install automatically during these normal operation periods.
Step 3: Check the Current Firmware Version
- Connect a computer to the extender via Ethernet.
- Open a web browser and go to the extender’s IP address (commonly something like
192.168.0.xor whatever your router’s DHCP assigns). - Log in with the extender’s admin credentials (often printed on a label on the device) and look for a Status or System Information page.
- Note the firmware version so you can tell whether it changes after updates or matches any release you’re expecting.
Step 4: Advanced – Manual Firmware Upload (Generic Method)
Important: Only do this if you have the correct firmware file for your exact WCB6200Q variant from a trusted source. Flashing the wrong firmware can brick the extender.
- Download the correct firmware file for the WCB6200Q from the device vendor or your ISP, and save it to your computer.
- Connect your computer to the extender via Ethernet and log in to its admin interface.
- Find the Firmware Upgrade or Software Update section in the menu.
- Click Browse or Choose File and select the firmware file you downloaded.
- Start the upgrade and wait; the extender will upload the file, flash the firmware, and reboot.
- Do not unplug the extender or router while the firmware is uploading or while the LEDs indicate an upgrade is in progress.
Step 5: Confirm Firmware Update and Test WiFi
- After the extender finishes rebooting, log back into its admin interface and check the firmware version again to confirm it has changed to the new version.
- Verify that the MoCA/Ethernet and WiFi LEDs are green and that devices can connect and get internet through the extender.
- If speeds or stability worsen after an update, try a power cycle; if issues persist, consider a factory reset and full re‑setup.
Step 6: Factory Reset as a Last Resort
- If the extender behaves strangely after updates or gets stuck, you can try a factory reset:
- While powered on, press and hold the reset button on the extender with a paperclip for about 10 seconds.
- Release the button and wait a few minutes for it to reboot to default settings.
- Reconnect coax/Ethernet and re‑sync WiFi (for example, using WPS) and then leave it online so it can pull any available firmware again.