How to Update NETGEAR EX6150 Firmware
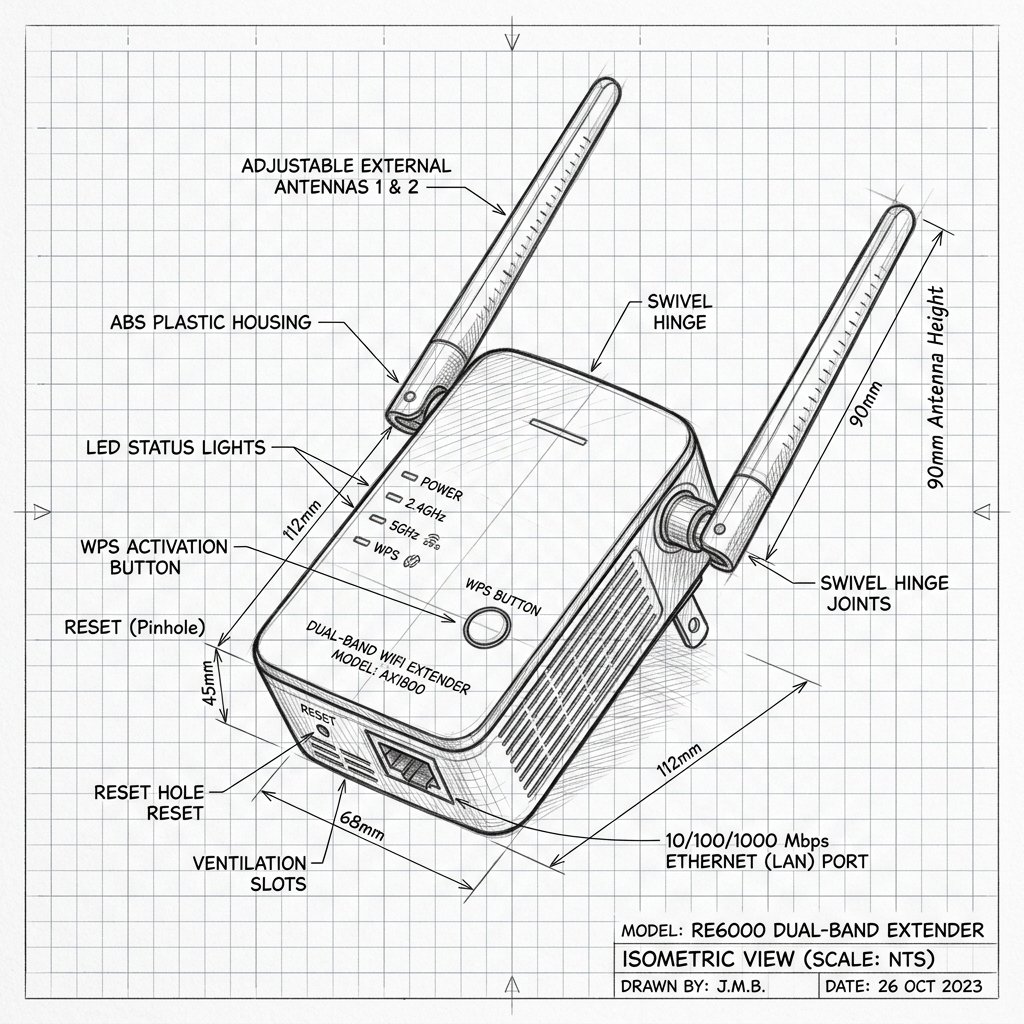 Dual-Antenna Range Extender
Hardware Safety & Status
Netgear EX6150 Firmware Guide
Monitor your device's Power and System LEDs during the upgrade process. Keep the device plugged in and connected via Ethernet or stable WiFi until the reboot cycle finishes.
Solid Power LED
Stable Network
Do Not Unplug
Updating firmware helps improve performance, fix bugs, and keep your extender secure.
Step 1: Download the Correct Firmware
- On a computer, go to the official NETGEAR Support / Download Center.
- Search for EX6150 and open the Downloads section.
- Download the latest firmware ZIP file for EX6150 and save it.
- Unzip the file and locate the firmware file (typically with a
.chkor.imgextension).
Step 2: Connect to the Extender
- Make sure the EX6150 is powered on and stable.
- Connect your computer to the extender via WiFi or Ethernet.
- Temporarily disable any VPN or proxy tools that may interfere with the upload.
Step 3: Log In to the EX6150 Dashboard
- Open a browser and go to http://mywifiext.net or 192.168.1.250.
- Log in using your admin credentials (default admin / password unless changed).
Step 4: Upload the Firmware File
- Navigate to the Firmware Update or Maintenance > Firmware Upgrade section.
- Click Browse or Choose File and select the firmware file you unzipped earlier.
- Click Upload or Update to start the firmware upgrade.
Important: Do not unplug the extender or router, and do not close the browser while the update is in progress.
Step 5: Wait for Reboot and Verify Version
- Wait for the EX6150 to reboot. The Power LED will turn solid when it is ready.
- Log back into the dashboard and check the firmware version on the Status or Firmware page to confirm the update.
Step 6: Test WiFi After Update
- Test WiFi in several rooms to confirm stable coverage and speed.
- If any issues appear after update, perform a soft reset and verify placement and router settings.