How to Update NETGEAR EX7000 Firmware
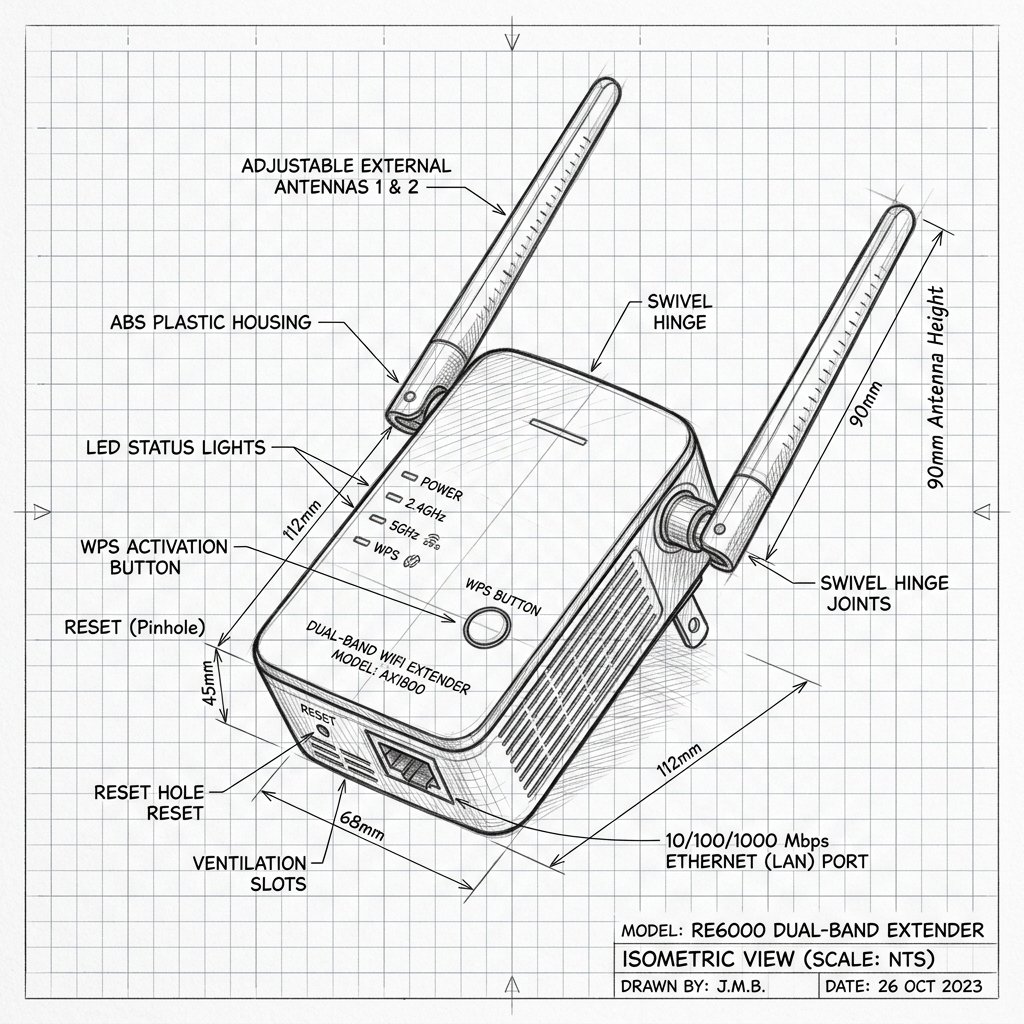 Dual-Antenna Range Extender
Hardware Safety & Status
Netgear EX7000 Firmware Guide
Monitor your device's Power and System LEDs during the upgrade process. Keep the device plugged in and connected via Ethernet or stable WiFi until the reboot cycle finishes.
Solid Power LED
Stable Network
Do Not Unplug
Keeping your EX7000 on the latest firmware improves security, stability, and compatibility with newer routers and devices. Follow these steps carefully to update your extender without breaking your connection.
Step 1: Download the Correct EX7000 Firmware File
- On a computer, go to the official NETGEAR Support / Download Center.
- Search for your exact model: EX7000.
- Open the Downloads section and locate the latest firmware version (for example, EX7000-V1.0.1.90_1.0.156.zip).
- Click Download and save the file to a convenient location such as your desktop.
- Right‑click the downloaded ZIP file and choose Extract to unzip it; inside you’ll find the actual firmware file ending in
.chkor.img.
Step 2: Connect Directly to the EX7000
- Make sure your EX7000 is powered on and the Power LED is solid green.
- Connect a computer or laptop to the extender—either:
- By WiFi (join the EX7000’s WiFi network), or
- By Ethernet, using a cable from your computer to one of the EX7000’s LAN ports.
- Temporarily disconnect VPNs or proxy software; they can block the management page.
Step 3: Log In to the EX7000 Management Page
- Open a web browser and type http://mywifiext.net into the address bar.
- If that doesn’t work, try http://mywifiext.local or 192.168.1.250.
- When prompted, enter the extender admin username and password:
- Username is usually admin.
- Password is the one you set during initial setup (or the default if you never changed it).
Step 4: Upload the New Firmware File
- In the extender interface, go to Settings > Firmware Update (sometimes under Maintenance or Administration).
- Look for an option like Upload Update File or Manual Firmware Update.
- Click Browse (or Choose File) and select the unzipped firmware file you extracted in Step 1.
- Click Upload to start the update.
Important: During the update, do not unplug the EX7000, turn off your router, or close the browser window. Interrupting the process can corrupt the firmware.
Step 5: Wait for the Extender to Reboot
- The EX7000 will reboot automatically once the firmware upload finishes.
- Wait until the Power LED becomes steady green again.
- This reboot can take several minutes; be patient and avoid pressing any buttons while LEDs are blinking.
Step 6: Confirm the Firmware Version
- Reconnect to the EX7000’s WiFi or Ethernet if needed.
- Open http://mywifiext.net again and log in with your admin credentials.
- Go to Status or Firmware Update and check the displayed firmware version—make sure it matches the one you just installed (for example, 1.0.1.90).
Step 7: Re-test Your WiFi Connection
- Once the update is confirmed, move around your home and test WiFi from a few devices.
- Check that the extender network appears as expected and that speeds and stability feel normal or improved.
Best Practices for Firmware Updates on Older Models
- Update on a wired connection when possible: If you can, use Ethernet from your PC to the EX7000 during the firmware upload for maximum reliability.
- Back up your settings: Before updating, note down your custom SSID names and passwords in case you need to re‑enter them after an update.
- Check for End-of-Service (EOS) status: The EX7000 is an older Nighthawk model and may eventually stop receiving new firmware. If updates stop appearing on the NETGEAR site, keep your router security strong and consider planning a future hardware upgrade.