 Desktop High-Power Tower
Ubiquiti AmpliFi AmpliFi Alien Diagram
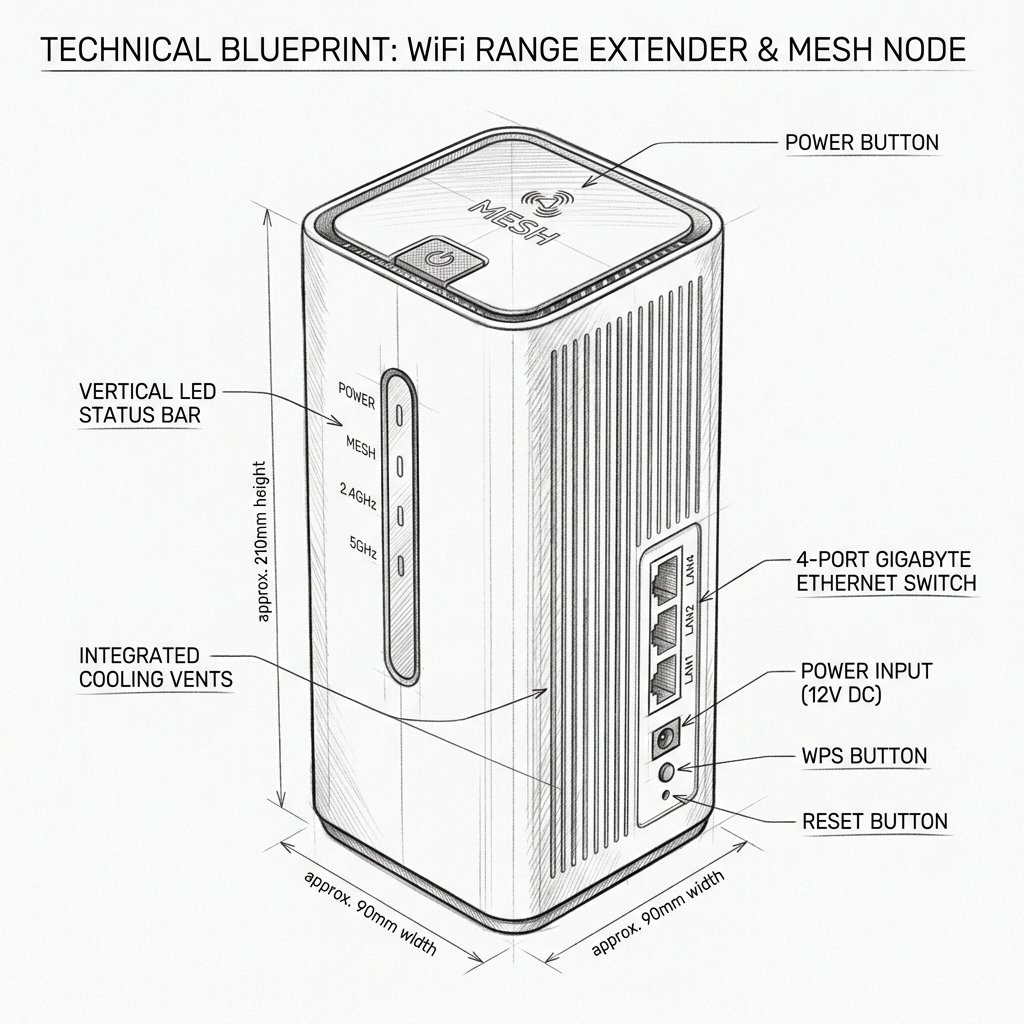
Reference this technical blueprint during setup to locate the power input, status LED indicators, one-touch WPS pairing button, and Ethernet port on your device.
The Ubiquiti AmpliFi Alien is a WiFi 6 mesh router that provides whole-home wireless coverage, automatic device roaming, and centralized management through the AmpliFi app. Use the app for the simplest installation, or configure the router from a computer without the app.
Quick 3-Step Checklist
- Prepare your modem: Confirm that your modem or internet gateway is online before connecting the Alien.
- Install the app: Download the AmpliFi app and enable Bluetooth and WiFi on your phone.
- Connect the router: Connect your modem to the Alien’s WAN port using the included Ethernet cable.
AmpliFi Alien LED Status Guide
| LED behavior | Meaning | What to do |
|---|---|---|
| Dim or minimum brightness | The Alien is starting up or WiFi is not ready. | Wait several minutes for the router to finish booting. |
| Slowly flashing | Initial configuration is in progress. | Keep the app open and follow the setup instructions. |
| Solid white | The Alien is ready and operating normally. | Connect your devices to the configured WiFi network. |
| Quickly flashing | The Locate feature is active. | Use the AmpliFi app to stop the Locate function. |
| Increasing brightness or sequential mesh LEDs | A firmware upgrade is in progress. | Do not unplug or reset the router. |
Set Up AmpliFi Alien as the Main Router
Step 1: Install the AmpliFi App
- Download the AmpliFi WiFi app on your Android phone or iPhone.
- Turn on Bluetooth and WiFi on your phone.
- Open the app and allow the requested permissions so it can discover the Alien.
Step 2: Connect the Alien to Your Modem
- Disconnect your existing router if the Alien will replace it.
- Connect one end of the included Ethernet cable to your modem.
- Connect the other end to the Internet/WAN port on the back of the Alien.
- Connect the Alien power adapter and plug it into a working electrical outlet.
- Wait for the touchscreen to turn on and complete its startup process.
Step 3: Start Setup in the App
- Open the AmpliFi app.
- Tap Set Up AmpliFi Mesh System.
- Select AmpliFi Alien when the router appears.
- Follow the on-screen instructions to continue.
Step 4: Create Your WiFi Network
- Enter a name for your WiFi network in the WiFi Name or SSID field.
- Create a strong WiFi password with at least eight characters.
- Avoid using your name, address, phone number, or easily guessed words in the password.
- Tap Continue or Save.
- Wait while the Alien applies the settings and restarts its wireless service.
Step 5: Connect Your Phone to the New Network
- Open WiFi settings on your phone.
- Select the new AmpliFi network name.
- Enter the WiFi password you created.
- Return to the AmpliFi app and allow the installation wizard to finish.
Step 6: Complete Account Setup
- The app may ask you to create or sign in to an AmpliFi account.
- An account can provide remote network management and access to additional app features.
- Choose Skip if you do not want to enable remote access.
- When the setup is complete, the app will display the Alien on the network overview screen.
Set Up AmpliFi Alien Without the App
You can configure the Alien from a computer if you do not want to use the mobile app.
Step 1: Connect the Hardware
- Connect your modem to the Alien’s WAN port with an Ethernet cable.
- Plug in the Alien and wait for the touchscreen to turn on.
- Wait for the default AmpliFi network name to appear on the screen.
Step 2: Connect to the Default Network
- Open WiFi settings on your computer or tablet.
- Select the default AmpliFi network shown on the Alien’s touchscreen.
- Connect to that network before opening a browser.
Step 3: Open the Local Setup Page
- Open a web browser after connecting to the default network.
- Wait for the local AmpliFi setup page to open automatically.
- If the page does not appear, enter the local router address shown in the Alien’s setup instructions.
Step 4: Configure Your WiFi
- Enter a new WiFi network name.
- Create a secure WiFi password.
- Save the settings and wait for the Alien to restart.
- Reconnect your computer to the new WiFi network.
Add Another Alien or MeshPoint
You can add another AmpliFi Alien router or compatible AmpliFi MeshPoint to expand coverage. The additional device should be placed between the main Alien and the area with weak WiFi.
Step 1: Choose a Location
- Place the additional device in a room between the main Alien and the dead zone.
- Do not place it inside an area where the main router’s signal is already unusable.
- Keep the device away from thick walls, metal cabinets, large mirrors, microwaves, and other sources of interference.
Step 2: Add the Device in the AmpliFi App
- Plug in the additional Alien or MeshPoint.
- Wait for the device to power on.
- Open the AmpliFi app.
- Tap the plus sign in the upper-right corner.
- Select the option to add or set up an AmpliFi mesh device.
- Choose the device detected by the app.
- Follow the on-screen instructions until the device is adopted.
Step 3: Confirm the Mesh Connection
- Open the network overview in the AmpliFi app.
- Confirm that the additional device appears online.
- Check the MeshPoint LEDs to evaluate signal strength.
- Move the MeshPoint closer to the main Alien if the app reports a weak connection.
- Test browsing, streaming, and video calls in the area that previously had poor coverage.
Use Ethernet Backhaul
An Ethernet backhaul can provide a more stable connection between the main Alien router and an additional mesh device.
- Connect an Ethernet cable from a LAN port on the main Alien to the Ethernet port on the additional Alien or MeshPoint.
- Open the AmpliFi app and select the additional device.
- Open the device settings and enable Ethernet Backbone if the option is available.
- Save the settings and allow the device to reconnect through Ethernet.