Reset Instructions for NETGEAR WN3000RPv2
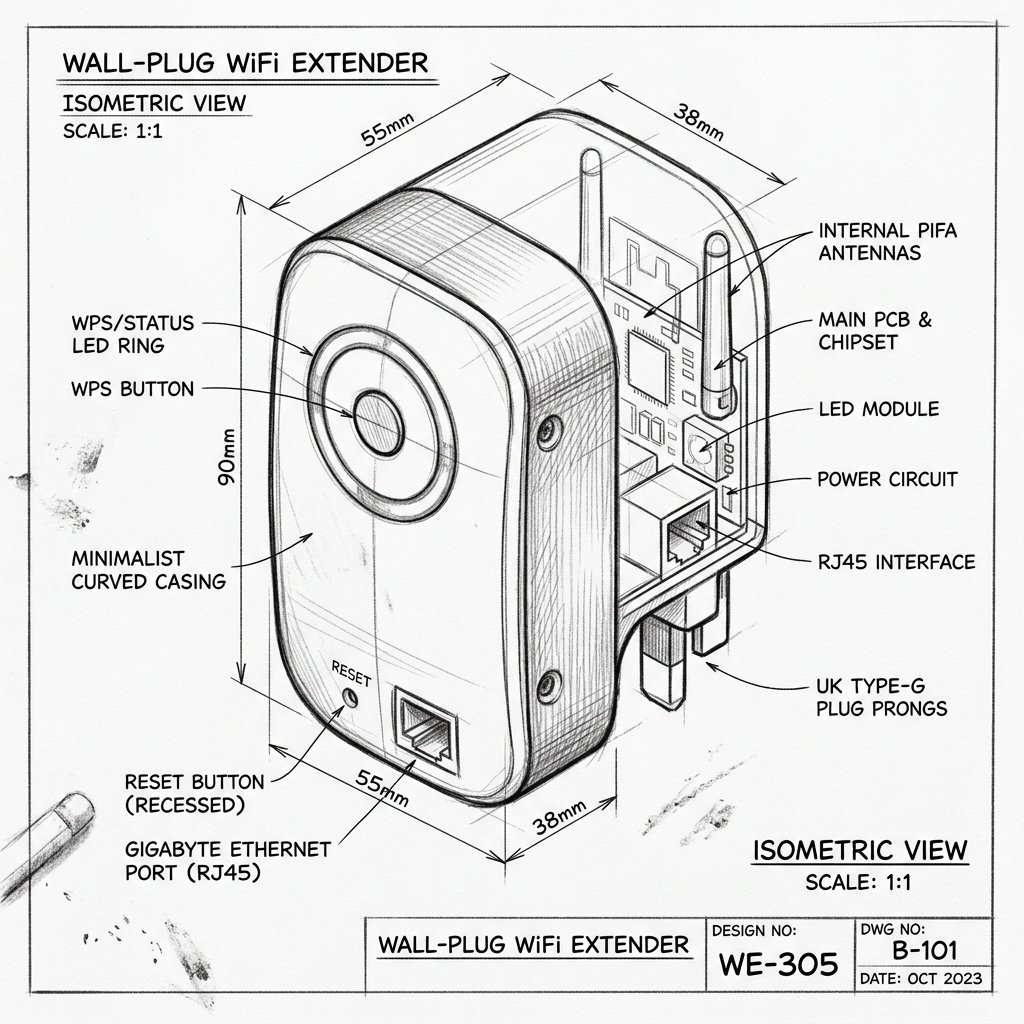 Compact Wall-Plug Extender
Hardware Reset Reference
Netgear WN3000RPv2 Reset Location
Locate the dedicated physical Reset pinhole or recessed button shown in the diagram. Use a paperclip or SIM eject tool to press and hold according to the steps below.
Reset Button / Pinhole
LED Blink Confirmation
Soft Reset (Power Cycle)
- Unplug the Netgear WN3000RPv2 from the wall outlet.
- Wait about 10–15 seconds.
- Plug it back in and wait for the Power LED to turn solid.
Factory Reset (Restore Defaults)
- Make sure the extender is powered on and the Power LED is solid.
- Locate the recessed Factory Reset button on the extender casing.
- Use a paperclip or pin to press and hold the reset button for about 5–10 seconds until LEDs blink, indicating a reset.
- Release the button and wait a couple of minutes for the extender to reboot and restore factory settings.
- After reset, the WN3000RPv2 returns to default configuration and broadcasts its default NETGEAR_EXT network, ready for fresh WPS or manual setup.
Warning: Resetting your NETGEAR extender will erase saved settings such as WiFi names, passwords, and custom options. Always try a simple power cycle (unplug, wait 10–15 seconds, plug back in) before performing a factory reset. If you do factory reset, make sure you know your router’s WiFi name (SSID) and password because you’ll need to set up the extender again from scratch.